
Introduction
In this case study, we'll explore how our team of Salesforce experts faced the challenge of migrating developments, metadata, and records between orgs from different instances, meaning where there's no direct connection between one Org and another. We'll present an overview of the tools and steps taken to accomplish this task.
Problem
When there was a split in the Client's company, it was necessary for the business component of the new company to be migrated to a new Org. The “original” Org had registrations and users from several countries, and there was a need to create a new org with all the features and registrations from just one country, to be used in isolation, that is, a new Org with no connection to the original Org. At the time, there was no standard Salesforce tool available to assist in executing this task
This process involved the migration of diverse information:
- Customized developments (flows, objects, apex, ...)
- Metadata
- Records
- Files
- Different settings
Solution
Naturally, manually replicating all developments made in the “original” Org would be time-consuming and error-prone work. The alternative could be the use of apps that would allow this migration to be carried out, but after analyzing them, it was decided to migrate the Org without using them.
After carrying out an analysis of the source org, we evaluated with the client which metadata and data would be migrated to the new Org and selected the necessary tools to proceed with the migration to the new Org.
Strategy
To ensure that everything went as smoothly as possible, we adopted a well-defined step by step process:
- Obtaining Credentials:
We obtained, from the client, the credentials of the originating Org and the destination Org.
- Tool selection:
We identified the tools that would be used in the migration process of each artifact: VSCode; DataLoader; File manager.
- Metadata:
Identification, extraction, and importation of metadata: We used VSCode to extract and import the metadata, following a logic of dependency between artifacts.
- Extraction and Loading of records:
We used DataLoader to extract and load the data, ensuring the correct import order.
- File Export/Import:
We exported and renamed files, ensuring consistency in ContentVersion and ContentDocumentLink.
- Validation of Inserted Data and Metadata with the Client:
We checked the number of records, comparing them with the original org.
Implementation
1 - Retrieve Metadata from the original org:
We used the properly configured VSCode tool. Firstly, we retrieved the metadata from the Origin org and then imported it into the destination org.
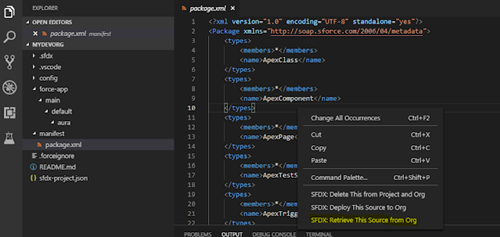
2 – Import metadata into the target org:
With VSCode we imported the metadata into the target org following a dependency logic between the artifacts. For example: we first imported all the Objects and Fields, and then imported the apex classes; the reports are sent first and then the dashboards can be imported.
3 - Disable Triggers:
After all metadata is imported and before starting to import data, it's important to deactivate triggers, flows, validation rules, or any automation that might be triggered during the data import. It's advisable to log everything that's being deactivated to reactivate it later.
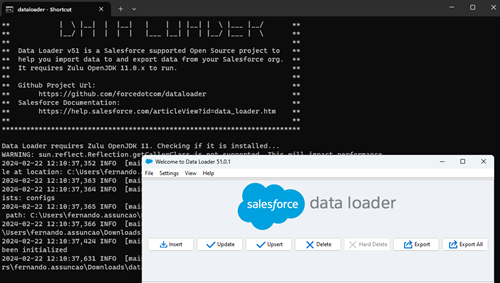
4 - Exporting records from the source org:
We used the dataloader and extracted data from each Object to later be loaded into the destination org. Ideally, if possible, for each object in the distination org, create a field to store a field that helps map records in the future. For example: create an external ID field to store the old ID of the originating org, or as we did at the customer's request, we created an OWNER_NAME field to store the name of the Owner of the record in the originating org.
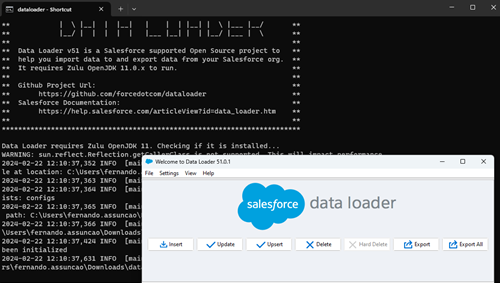
5 - Data loading:
For this task we used the dataloader. Before anything else, it's important to prepare the files for loading into the destination org. In this step, we go through the file extracted from the source org to format information when necessary. For example: date fields, number fields, picklist values, replacing commas, etc. At this stage, a record import order is also adopted according to the dependency logic. For example, we import Accounts first, then Contacts, so we already have their IDs to use in importing Opportunities.
Note: It's important to ensure that the user used for data loading has properly configured access to custom objects and fields in the destination org, or some fields may not be mapped and could go unnoticed.
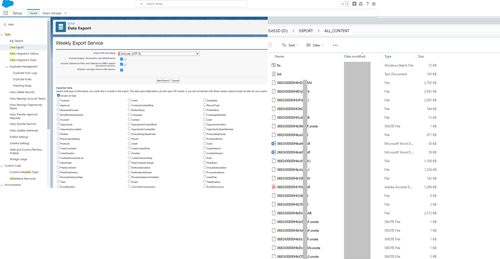
6 - File Export/Import:
- Export all files through Salesforce DataExport and aggregate contentVersion files into a single folder.
- Rename files:
* In the list of extracted documents, find the ID, name, and extension, and copy them into a spreadsheet.
* Create a formula and write the instruction to execute on the command line, for all files (e.g. RENAME id filename. extension).
* Copy to a text file, rename to .bat and run. - Check, at the source, which entities are related to the contentversion.
- Export all records from the source ContentDocumentlink entity.
Ex: SELECT Id,ContentDocumentId, IsDeleted, LinkedEntityId, ShareType, Visibility FROM contentdocumentlink where LinkedEntityId in (Select Id from Asset). - Based on entity ids ContentDocumentlink, export all ContentVersion from source.
Ex: SELECT Id, ContentLocation, FileExtension, FileType, IsAssetEnabled, IsMajorVersion, Origin, PathOnClient, SharingOption, SharingPrivacy, TextPreview, Title, VersionData FROM ContentVersion WHERE Id IN (Records taken from the previous query). - On file ContentVersion, change the columns:
* PathOnClient with the location where the files were exported
* Version Data with the location where the files were exported concatenated with the file name
* Create the External Id value in the ContentVersion object to load the "Original" Id - Import the file in the ContentVersion entity into the destination
- Export the ContentVersion table from the destination to update the ContentDocumentLink file
- Map the Entities to those that were migrated
- Import the file into the ContentDocumentLink entity
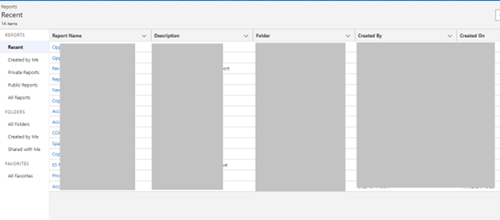
7 - Validate entered data:
Here we can check the number of records and compare with the originating org.
8 - Make final adjustments to metadata and interface:
- Path
- Page layout assignments
- Delete sample data
- Picklists (Activate and deactivate)
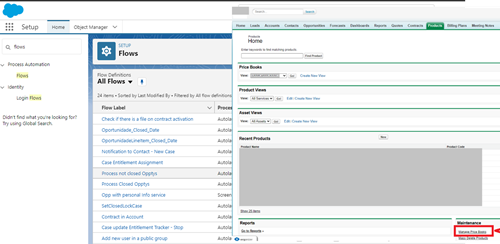
- Activate: flows, validation rules, workflow rules, triggers, process builder
- Check remote sites and endpoints if there is any integration
- Layouts, tabs
- Pricebooks (Pricebooks management, only available in classic)
- Custom Metadata Types.
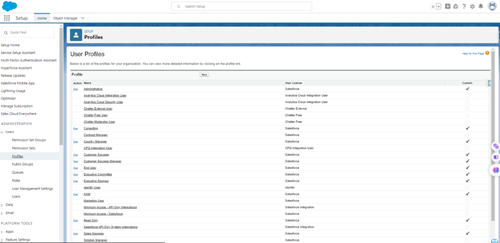
9 - Creating and configuring profiles:
Creation of profile configurations according to customer needs. In our case, most profiles were created mirrored with those from the original org.
Result
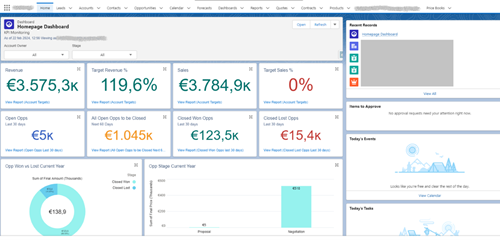
After the successful completion of the data and metadata migration project between Salesforce organizations, the results were satisfactory. By adopting a simple and carefully planned approach, we minimized technical difficulties and were able to achieve our goals.
Conclusion
In summary, the migration of data and metadata not only achieved the technical objectives, but also contributed to a positive transformation in the customer's perception of our capabilities. These positive results are a testament to the commitment, strategic planning and efficient execution of the team involved in the project.
#Saleforce #DataMigration #Metadata #DifferentOrgs
